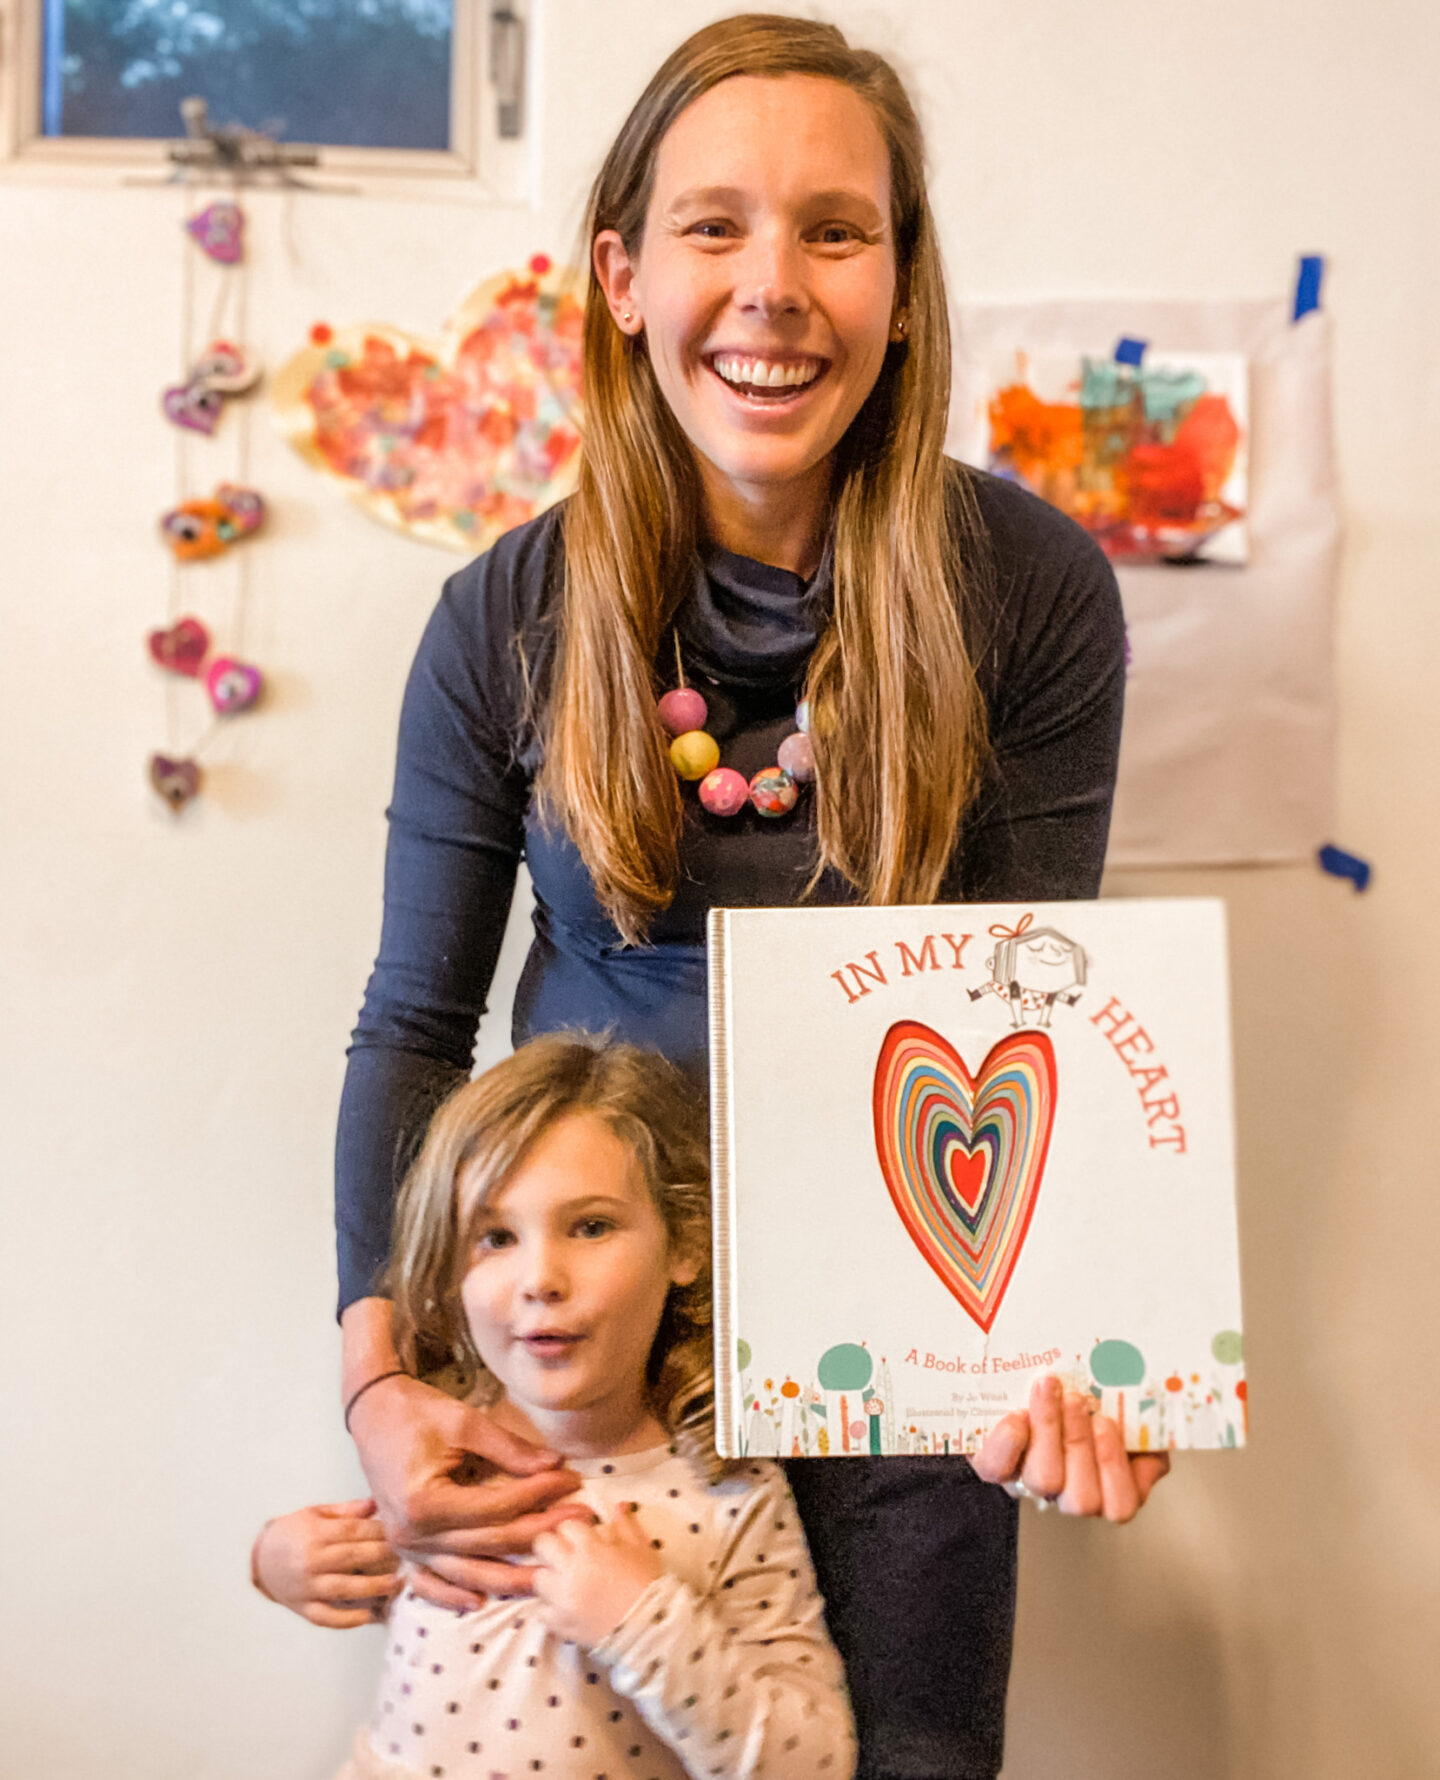
Valentine’s Day is right around the corner! While finding the time to make and deliver Pinterest-perfect class valentines was never at the top of my list as a working mom, now that I’m home, I have found that I actually really enjoy having a little bit of extra time and energy to help my daughter make some cutesy Valentine’s Day crafts. Even though most of these will inevitably make their way into someone else’s trash can, I’m hoping that the process of making and giving these items away will also teach her a little something about friendship, and the power of a small act of kindness.

Before embarking on our crafting journey, Margot and I read the WONDERFUL book “In My Heart,” by Jo Witek (linked below). While it’s not necessarily a Valentine’s book, it is all about “hearts,” and I love how it personifies (and makes accessible for kids) the wide array of feelings our hearts can have throughout the course of a day. The art in this book also inspired our first craft of the season: our “feelings of the heart” googly eye garland.

Feelings of the Heart Googly-Eye Garland
My bookshelf and I both love a good garland. And I also love encouraging my alomst-4-year-old to practice her fine motor skills. This garland was a mixture of painted hearts, and decoupaged ones, but you could easily pick one medium or the other instead of doing both. While we’ll be keeping this first attempt for our own home, we plan on making another for a friend later next week.
Supply List
The supplies for this craft are as follows, and I have linked the exact items I purchased at the bottom of this section.
- Wooden craft hearts
- Twine
- Tissue paper
- Washable tempura paint
- School glue
- Paint brushes
- Small jam jars (to pre-portion paint)
- Stick-on googly eyes
- Scissors
In my house, I try my best to set crafts up in a minimalist, Montessori-ish style. This means that I prep the supplies in advance, and make sure that the kids only have access to a modest amount of things like paint, glue, or tissue paper. This helps kids feel less overwhelmed by the task in front of them, and encourages them to use supplies responsibly.
We started by choosing which colors of tissue paper we wanted to use, and them my daughter was tasked with the work of cutting it into small, odd-shaped pieces. Working with scissors in this way is still a little challenging for her, but important for helping her develop better hand-eye coordination and fine motor skills.

Once we had a pile of tissue paper scraps, we painted our wooden hearts with glue, and set work decoupaging. As you can likely see, my daughter did some on her own, and some with my guidance, but both turned out pretty fun.
While we waited for those to dry, we grabbed our pre-filled jam jars of paint, and set to work painting the remaining hearts. When all of the painting and gluing had dried (later that afternoon for us), we went back and added googly eyes and facial expressions to our hearts. This is where I reviewed the premise of “In My Heart” with my daughter, and we talked about what each of the hearts we had made might be feeling.
I have to say, the resulting lanyard is pretty cute, and who doesn’t love a good cyclops heart on Valentine’s day?
Supplies (Links)


We also have these tempura paint pens (Kwik Stix), and while we didn’t use them this time around, I definitely will if we choose to involve my 2-year-old in making any more of these hearts. They’re paint-based, so they work well on wood, but are way less messy than actual paint.

Contact Paper “Sun Catcher” Heart
I love contact paper. The crafting and laminating options are seriously endless with this stuff. For basically every season, my daughter and I have used contact paper to make “sun catchers” in the shapes of everything from Christmas trees and Menorahs to hearts and pumpkins.

Making the sun catcher is extraordinarily simple, and will use some of the same supplies as the previous craft. First, you will want to cut the outline of a heart out of construction paper (I won’t tell you how to do this, because I am assuming you, too, went to kindergarten). You then roll out a sheet of contact paper, and tape it down to something (we usually do the table, but you could also tape it directly to the window or door that you hope to feature it on later). Once the contact paper is secure (sticky-side facing OUT), you can stick the construction paper outline right on it.
Your child now has an outline they can fill in with the bits of tissue paper they already cut up for craft #1. In the past, we have also added sequins, glitter, or the tiny construction paper circles that live in our hole-puncher, but I’ll leave the level of mess determination up to you.
When your child has finished filling up the interior of the heart, you can layer another piece of contact paper down on top of it (sticky-sides touching), and smooth it out. Cut the extra contact paper off around the outside of the construction paper outline and voila! You’ve got a sun-catcher.
Supplies and Links
- Contact paper
- Tissue paper
- Construction paper
- Scissors


Wood Bead Necklace
This last craft was inspired by my son’s love of wooden beads. That kid can sit for a solid 20 minutes, stringing giant beads onto a piece of twine, dumping them off, and doing it all over again on repeat.
So, when I sat down to ponder what he might enjoy making for his babysitter / my daughter’s pre-school teacher, beads were the first thing that came to mind.

Painting beads, even for a 4-year old, can be a bit challenging, so instead of using a paintbrush, we grabbed the tiny glass jars we use for portioning and storing paint, and filled them will a small amount of whichever color each child chose. Then, both kids (2 and 4) dropped their beads directly into the jars, screwed the lids back on, and shook them up. Once it looked like the bead was covered in paint, the kids dumped the beads onto the paper-covered table, and let them be. You could add a step and roll the wet beads in sparkles or glitter, but I had already vacuumed 3 times before we started this craft, so the glitter was staying securely in the craft cart.
My older daughter also helped me paint a few of the beads with glue, and then decoupage them with the leftover tissue paper. I think the combination looks pretty adorable, and while our beloved preschool teacher will likely never wear this eccentric piece of jewelry, I think my daughter took a lot of pride in making it for her (and I’ll be sending it over with a bottle of wine anyway).

Supplies and Links
- Paint, twine and mini jam jars linked above
- Wooden beads (we ordered the 30 mm version of the brand linked below and they fit well in the mini jars).

More Crafting Awaits!
If you’re in the market for even more adorable Valentine’s Day craft ideas, head over to my friend Asheigh’s site. Ashleigh is an accomplished gardener, cook, and fellow lover of great kid’s books and activities. She recently did a roundup of some of the most beautiful crafts she and her kids have done over the past few years, and it’s definitely worth checking out.
Books
Now, if you’ve made it to the end of this post, and already feel exhausted by the thought of actually planning and executing any of these crafts, I feel you. So here are a few Valentine’s-related books that you can read instead–they’re less mess, but get the same message across, and you can even re-gift them as “Valentines” when you’re done.


